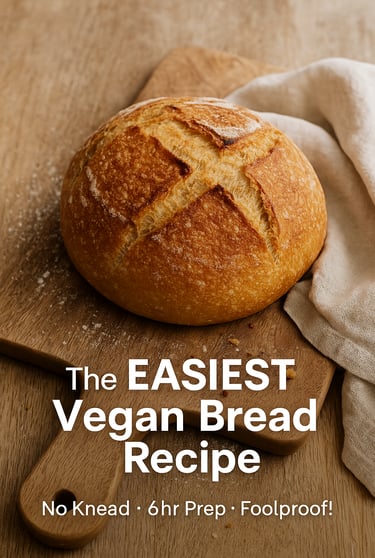
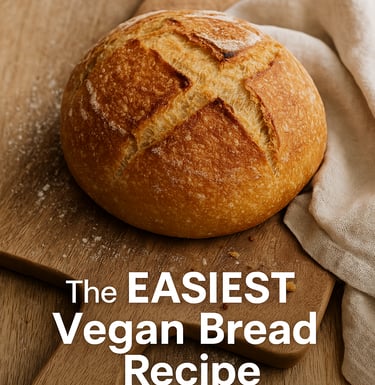
The EASIEST Crusty Vegan Bread You’ll Ever Make (No-Knead, Foolproof!)
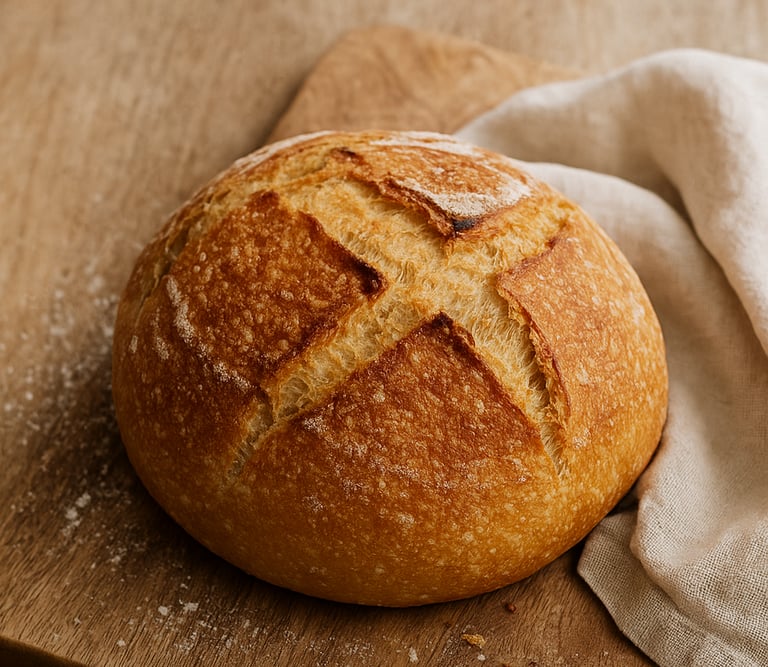
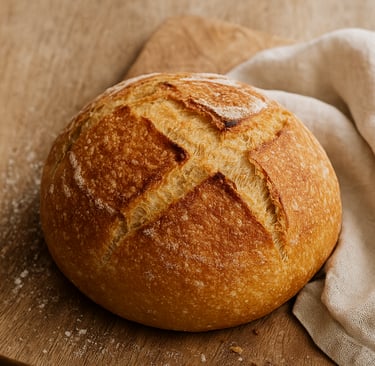
If there’s one thing I can never resist, it’s a warm, crusty loaf of homemade bread — golden on the outside, soft and airy on the inside
If there’s one thing I can never resist, it’s a warm, crusty loaf of homemade bread — golden on the outside, soft and airy on the inside. Bonus points if it’s totally foolproof and doesn’t require any fancy baking equipment or techniques.
This vegan bread recipe is the easiest you’ll ever make, and I truly mean it. No kneading, no complicated steps, and only a handful of ingredients. Plus, it’s naturally vegan — no dairy, no eggs, no fuss. Just pure, crusty, comforting bread goodness. 🍞✨
Whether you’re a complete beginner or a seasoned baker looking for a low-effort recipe, this one’s going to become your new go-to.
🛒 What You’ll Need
Ingredients (for 1 loaf):
350 ml room temperature water
8 g fresh yeast or 3 g instant yeast
500 g wheat flour (I use King Arthur Organic Unbleached All-Purpose Flour)
10 g salt
Optional Tools & Essentials:
Digital Kitchen Scale – for perfect measurements
Parchment Paper – makes cleanup a breeze
Dutch Oven or Ovenproof Baking Dish with Lid – essential for that crispy crust
👩🍳 Let’s Make Bread!
Step 1: Mix the Wet Ingredients
In a large bowl, add 350 ml room temperature water. Stir in 8 g fresh yeast or 3 g instant yeast until fully dissolved.
📝 Pro Tip: If you're using fresh yeast, crumble it into the water and stir until no lumps remain.
Step 2: Add the Dry Ingredients
To the same bowl, add 500 g wheat flour and 10 g salt. Stir everything together until a shaggy, sticky dough forms. Don’t worry if it looks messy — that’s exactly what we want!
Cover the bowl with a lid or clean towel and let the dough rest at room temperature for 3 hours.
Step 3: Stretch & Fold
Once the dough has rested, it’s time to build structure (without kneading). Slightly wet your hands to prevent sticking and gently stretch and fold each side of the dough toward the center — imagine you’re folding in the corners of a blanket.
Cover and let it rest for 30 minutes, then repeat this stretch and fold process 4 times in total, resting 30 minutes between each round. This technique helps develop gluten and gives your bread that chewy, airy texture.
Step 4: Shape Your Loaf
Once you've completed all 4 folds, turn the dough out onto a lightly floured surface. Shape it gently into a round loaf. You don’t need to be perfect here — rustic is beautiful!
Line your ovenproof dish or Dutch oven with parchment paper, and carefully transfer the dough into it.
🛑 Don’t skip the parchment! It prevents sticking and makes lifting the bread out so much easier.
Step 5: Bake That Beauty
Preheat your oven to 250°C (482°F) with the lid on your Dutch oven (or ovenproof dish) inside to heat up as well.
Once hot, place your dish with the dough into the oven and bake covered for 30 minutes.
After 30 minutes, remove the lid, lower the temperature to 220°C (428°F), and continue baking for another 20 minutes until the crust is deep golden and crisp.
Step 6: Cool & Enjoy
Remove the bread from the oven and let it cool completely on a wire rack before slicing. This step is crucial — it finishes the baking process and prevents gummy crumbs.
🍽 How to Enjoy It
This bread is incredibly versatile! Serve it with olive oil and balsamic vinegar, use it for sandwiches, or just smear on your favorite vegan butter with a sprinkle of flaky salt. 😍
🧡 Final Thoughts
If you’ve ever been intimidated by homemade bread, this is the recipe to change your mind. It’s simple, forgiving, and wildly delicious. And once you try it, you’ll never go back to store-bought loaves.
So grab your ingredients, preheat that oven, and get ready to fall in love with baking bread at home.
Let me know in the comments if you make it — and tag me on Instagram so I can see your gorgeous loaves! ✨
Shop the Essentials:
Recipes
Explore delicious vegan plant-based recipes and tips.
DISCLAIMER
As an Amazon affiliate and affiliate for other brand, I earn from qualifying purchases
© 2025. All rights reserved.